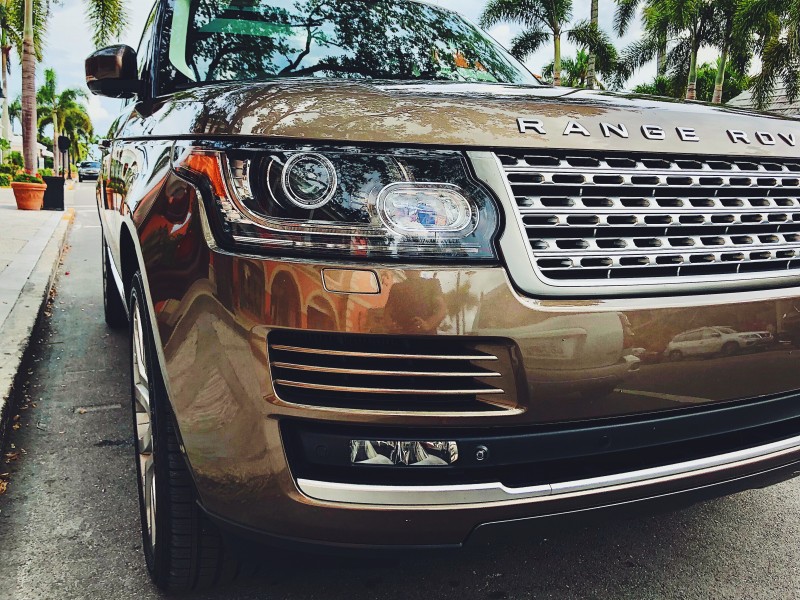
Your Range Rover HSE Luxury truck comes with a slew of advanced safety features. But none is as vital as the brake system. As the powerful Pirelli ad says, “power without control is nothing.”
Your brake system on your Range Rover HSE should always be in perfect working condition to enable you to bring the vehicle to a complete halt when the need arises. This could possibly save your life and that of your passengers and also other road users.
Your Range Rover’s brake system is relatively complex and consists of rotors, calipers, and brake pads amongst others. But the part the frequently demands your attention are the brake pads.
So how often should you change your truck’s brake pads?
Usually, a failing brake pad will show signs such as noises or difficulty in bringing the vehicle to a complete stop. However, the Range Rover HSE, like most modern luxury vehicles, is equipped with sensors which alert you early when your brake pads wear too thin. Early warning and subsequent remedial action will save you from possible mishaps and also protect the quite expensive rotors.
Brake pad replacement is a straightforward procedure but will set you back a few hundred at the dealership. They could charge anywhere from $100 to $300 per axle to replace the pads.
However, you can do this yourself. And you don’t have to be an ASE certified auto mechanic.
I’ll show you how to go about it yourself and save all that cash. All that is required for a brake pad replacement job is a Heavy-Duty Jack, Wrenches (13mm and 17mm), a C-clamp, a tube of Locktite and a little muscle.
Okay. Enough of the talk. Roll up your sleeves, dude, let’s get to work!
- 1. Open the hood and take off the filler cover of the brake fluid reservoir. You will shortly find out the reason for this.
2. Loosen the wheel lugs and jack the vehicle up. Place a backup stand under the chassis for safety. Then remove the wheel.
3. Turn out the Caliper. Turn on the engine and turn the steering fully to the side you’re working on.This turns out the caliper for easier access.
4. Loosen the two 13mm bolts holding the caliper in place. These are located on the inner side of the caliper - top and bottom. Using the 17mm spanner to keep the adjusting nut firmly in place, use the 13mm wrench to remove the bolts.
5. Pull out the caliper. With the two 13mm bolts taken off, the caliper can now be pulled out. However, the pads exert a force on it which holds it tightly. Using a stout flat-head screwdriver, gently pry the caliper assembly loose.
6. Slide out the worn brake pads from their groove. Still using the screwdriver.
7. Slide the new brake pads firmly into the notch. If you are working on the driver’s side which has the sensor, ensure to replace it. It’s fitted into a u-shaped groove located in the middle of the brake pad.
8. Adjust the two pistons on the caliper. The pistons (which exert a force on the brake pads to bring the vehicle to a halt) need to be adjusted to allow them to fit over the new pads. This was why the cover of the brake fluid reservoir was opened- to make adjusting the pistons easier - since pushing down the pistons will force fluid to back up into the reservoir. Place a small spanner across the two pistons and using the c-clamp, slowly push back the pistons.
9. Now, slide the caliper over the new pads.
10. Tighten the caliper. Carefully align the caliper so that the 13mm bolts can be threaded and tightened. Treat the 13mm bolts with Locktite before using them to prevent the caliper from loosening due to vibrations. Using the 17mm spanner to hold down the adjusting nut, tighten the 13mm bolt firmly with the 13mm wrench.
11. Fix the wheel. Start the engine and straighten the tire to enable you to fix the wheel.
12. Cover the Brake Reservoir. Don’t forget to go back to the hood and cover the brake fluid reservoir.
13. Test Drive. Take your now cool ride for a test spin and watch out for any pulling-to-the-side effect when you brake.
That wasn’t so difficult, right? Now, buy me a beer or two with the money you saved.


0 comments